hexo+gitpage搭建自己的博客(三)

前两篇介绍了怎么用gitpage+github搭建自己的博客,这次主要介绍怎么更换主题和加入评论、统计等。


更换主题
首先将 yilia主题从github克隆到本地thems文件夹里面

1
git clone https://github.com/litten/hexo-theme-yilia.git themes/yilia

看一下当前博客目录的结构
目录结构

其中_config.yml文件就是整个hexo系统的主配置文件
另外刚才克隆的yilia主题就在thems文件夹下面
首先修改根目录下的_config.yml文件,切换到yilia主题
大概在文件的63-65行左右的位置

1
2
3
4
# Extensions
## Plugins: https://hexo.io/plugins/
## Themes: https://hexo.io/themes/
theme: yilia

将原来的theme后面的 landscape主题改成yilia
重启服务后主题就切换到yilia了,下面是thems/yilia文件夹下的_config.yml文件的配置.

1
2
3
4
5
6
7
8
9
10
11
12
13
14
15
16
17
18
19
20
21
22
23
24
25
26
27
28
29
30
31
32
33
34
35
36
37
38
39
40
41
42
43
44
45
46
47
48
49
50
51
52
53
54
55
56
57
58
59
60
61
62
63
64
65
66

# Header
menu:
主页: /
简历: ""

# SubNav
subnav:
github: "https://github.com/huangyuanlove"
#weibo: "#"
#rss: "#"
zhihu: "https://www.zhihu.com/people/huangyuan_xuan"
#douban: "#"
#mail: "#"
#facebook: "#"
#google: "#"
#twitter: "#"
#linkedin: "#"

rss: /atom.xml

# 是否需要修改 root 路径
# 如果您的网站存放在子目录中,例如 http://yoursite.com/blog,
# 请将您的 url 设为 http://yoursite.com/blog 并把 root 设为 /blog/。
root:

# Content
excerpt_link: more
fancybox: true
mathjax: false

# 是否开启动画效果
animate: true

# 是否在新窗口打开链接
open_in_new: false

# 自己添加的百度统计
baidu_tongji: true

# 网站icon
favicon: favicon.ico

#你的头像url
avatar: ""

#是否开启分享
share_jia: false
share_addthis: false

#多说评论
duoshuo:

# 如不需要,将该项置为false
# 比如
#smart_menu:
# friends: false

smart_menu:
innerArchive: '所有文章'
tagcloud: '标签'
#friends: '友链'
aboutme: '关于我'

friends:
aboutme: <a href="http://www.huangyuanlove.com">什么懂都点的Android攻城狮</a>

以上是yilia主题的配置说明
接入百度统计
首先到百度统计平台 申请一个帐号,按照提示填写完自己网站的信息,在网站中心左边栏点击代码获取,得到统计访问量的代码。
新建themes/yilia/layout/_partial/baidu_tongji.ejs文件,内容如下:

1
2
3
4
5
<% if (theme.baidu_tongji) { %>
<script>
统计访问量的代码
</script>
<% } %>

然后编辑themes/yilia/_config.yml文件,添加一行baidu_tongji: true,注意冒号后面有空格。
编辑themes/yilia/layout/_partial/head.ejs</head> 前添加
<%- partial("baidu_tongji") %>
重启部署代码即可。
安装完成20分钟后就可以在后台看到统计的信息了,如果看不到统计信息,请检查是否配置正确,检测方式点这里 http://tieba.baidu.com/p/3775626020
以上是添加百度统计的方式
添加多说评论
多说 申请帐号
使用三方登录完成后,点击我要安装,根据提示填写完信息
多说
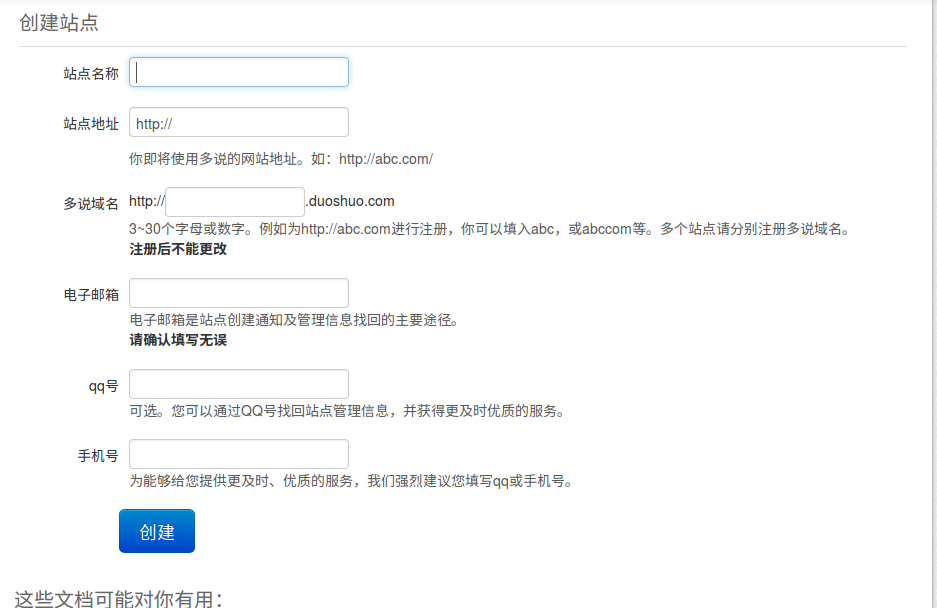
记住站点名称,将站点名称填入 thems/yilia/_config.yml文件里面多说评论之后,注意冒号后面有空格。
保存重新部署就可以看到评论框了。
至于评论样式,可以在后台管理页面中的设置选项中设置。后台管理中还可以管理评论内容,添加敏感词汇过滤等。
以上是添加多说评论的过程。


以上


hexo+gitpage搭建自己的博客(三)
https://blog.huangyuanlove.com/2016/10/30/hexo-gitpage搭建自己的博客-三/
作者
HuangYuan_xuan
发布于
2016年10月30日
许可协议
BY HUANG兄